
A clogged fuel filter can lead to a variety of issues, including reduced fuel efficiency, engine power loss, and even engine failure. Regular maintenance is essential to keep your vehicle running smoothly. This guide will walk you through the process of replacing your fuel filter.
Understanding the Fuel Filter
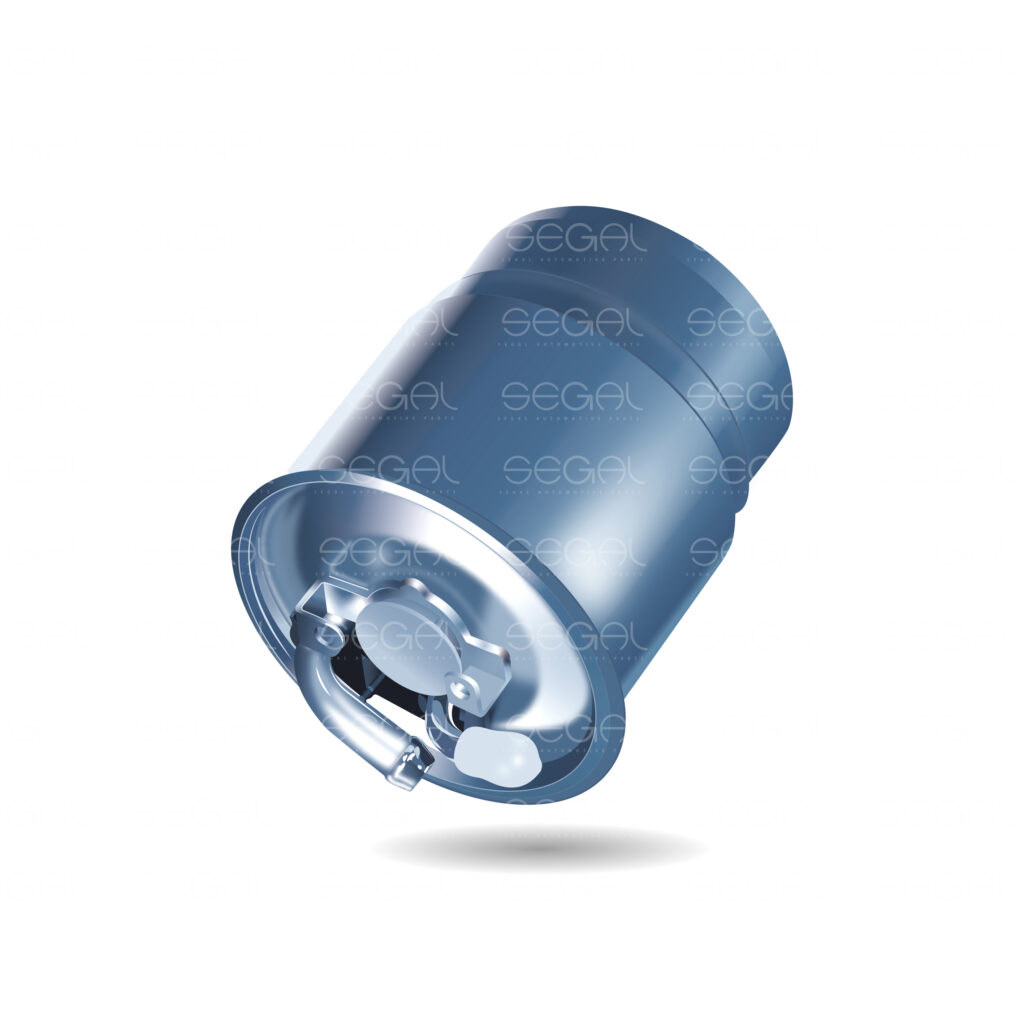
The fuel filter is a crucial component of your vehicle’s fuel system. It acts as a barrier, preventing contaminants like dirt, debris, and rust from entering your engine. Over time, the filter can become clogged, restricting fuel flow and affecting your vehicle’s performance.
Signs You Need a New Fuel Filter
- Reduced fuel efficiency: If you notice a significant drop in your vehicle’s gas mileage, it could be a sign of a clogged fuel filter.
- Engine hesitation or stalling: A clogged filter can cause your engine to hesitate or stall, especially when accelerating or idling.
- Rough idle: If your engine idles unevenly or shakes, it might be due to a restricted fuel filter.
- Difficulty starting: A clogged filter can make it harder to start your vehicle.
Tools and Materials
- Replacement fuel filter
- Wrench or socket set
- Screwdriver (if necessary)
- Rags
- Fuel line disconnect tool (if applicable)
- Safety glasses
- Gloves
Step-by-Step Guide
- Park on a Level Surface: Ensure your vehicle is parked on a level surface and turned off.
- Locate the Fuel Filter: Consult your vehicle’s owner’s manual to determine the location of the fuel filter. It’s often found near the engine or fuel tank.
- Disconnect the Battery: For safety, disconnect the negative terminal of your vehicle’s battery.
- Release Pressure: If your vehicle has a fuel pump shutoff switch, use it to release pressure in the fuel system. Otherwise, you may need to cycle the ignition a few times.
- Loosen and Remove the Filter: Using the appropriate wrench or socket, loosen and remove the bolts or clamps holding the fuel filter in place. Carefully disconnect the fuel lines from the filter.
- Install the New Filter: Align the new filter with the correct flow direction (usually indicated by an arrow) and install it in the same position as the old filter. Tighten the bolts or clamps securely.
- Reconnect the Fuel Lines: Carefully reconnect the fuel lines to the new filter. Ensure they are seated properly and free of leaks.
- Reconnect the Battery: Reattach the negative terminal of the battery.
- Start the Engine: Turn on the ignition and check for any leaks around the fuel filter. If there are no leaks, the filter has been successfully replaced.
Tips for Replacing a Fuel Filter
- Consult Your Owner’s Manual: Always refer to your vehicle’s owner’s manual for specific instructions and torque specifications.
- Work in a Well-Ventilated Area: Fuel is flammable, so work in a well-ventilated area.
- Wear Protective Gear: Wear safety glasses and gloves to protect yourself from fuel and debris.
- Inspect the Old Filter: Examine the old filter to see if it was indeed clogged. This can help you identify potential issues in your fuel system.
By following these steps and taking necessary precautions, you can safely and effectively replace your fuel filter, ensuring optimal performance and fuel efficiency for your vehicle.